I created these art notebooks for my kids a couple of years ago before a cross country plane ride. Since then I have made many notebook covers and have been able to perfect the pattern. In addition to plane rides the notebooks are great for car trips, church and doctors appointments. Basically anytime you need to encourage some quiet play. There are several steps but if you take them one at a time I know you can make one too! After you have made one and understand how it all goes together you can even adjust the dimensions and make covers for other size notebooks. They make great gifts! Now let's get started!
You will need:
-8.5"x11" spiral bound Mead sketch book (I bought mine at Wal-mart for about $4)
-1 yard fabric
-1/4 yard contrasting pocket fabric (this is optional- you can omit the pockets completely or use the main fabric for pockets)
-1 yard 22" wide fusible interfacing
-matching thread
-1.5"x2.25" piece of sew on Velcro
-Sewing basics, i.e.- scissors, measuring tape, pins, sewing machine, marking pen.
Step 1: Cut out pieces
Main fabric-
Cut two 21"x13" for outside and lining of cover
Cut two 17"x13" for front and back sleeves
Cut two 12.5"x2" for straps
Cut one 9"x3" for tab
Contrasting fabric-
Cut one 8"x7" for sticker pocket
Cut one 12"x7" for marker pocket
 Step 2: Cut and apply fusible interfacing for each piece except the lining (one of the 21"x13" pieces) and the contrasting pocket pieces.
Step 3: Make tab. Iron the tab in half. Sew the loop piece of Velcro just beneath the fold. Fold the tab again (right sides together) enclosing the Velcro. Sew each side leaving the bottom open. Clip corners, turn right side out and press.

Step 4: Make the straps. Fold and press the strap in half lengthwise. Open. Fold and press each raw edge toward the center. Sew down the length of each side of the strap.

Step 5: Make the marker pocket.
-Grab the 12"x7" piece of contrasting fabric. Press the raw edges under 1/4". Turn and press the top (12" side) under another 1/4" and sew (top edge only).
-Fold and press one sleeve piece (17"x13") in half (wrong sides together). With the fold on the right side, pin the marker pocket 1/2" from the folded edge and 2" from the bottom. Sew right of pocket side only.
-Place one marker under the pocket material next to the seam. Line up the straight edge with the left side of the marker (don't make it too tight- leave a little ease so the marker will be able to slide in and out easily). Mark with water soluble ink or chalk.
-Pin and sew leaving the bottom edge open. Repeat until you run out of fabric. The number of marker slots will vary based on the size of your markers. I have nine marker slots.
-Sew the bottom edge of the slots.
-Your front sleeve is now complete!

Step 6: Make the sticker pocket
-With the other contrasting pocket piece (8"x7"), press the raw edges under 1/4". Turn and press the top (7" side) under another 1/4" and sew.
-Fold and press the other sleeve piece (17"x13") in half (wrong sides together). With the fold on the left side, pin the sticker pocket 1" from the folded edge and about 1.5" from the bottom.
-Sew each side and the bottom of pocket leaving the top open.
-Your back sleeve is now complete!
Step 7: Attach straps and tab
-On the raw side of the back sleeve, pin one end of the strap at 3.25" from top. Pin the other end of the strap at 9.75" from the top. Sew about 1/4" from raw edge. Repeat for other strap on the front flap.
-On the back sleeve center the tab (Velcro side down), 6.5" from top, pin and sew 1/4" from raw edge.

Step 8: Attach hook Velcro piece:
-Center (6.5" from top edge) the hook Velcro piece on the front right side of the cover (the 21"x13" piece with the interfacing) and pin 1.5" from the raw edge.
-Sew around the perimeter of Velcro piece.
Step 9: Put it all together
-Layout the outer piece right side up.
-With the strap and tab tucked in, place the back sleeve (the one with the sticker pocket) face down on the left side of outer piece lining up raw edges.
-With the strap tucked in, place the front sleeve (the one with the marker pocket) face down on the right side of outer piece lining up raw edges.
-Place the lining piece (21"x13" piece without interfacing) on top right side down. Pin.
-Sew around the perimeter leaving about a 4-6" gap along the bottom center. To reinforce the seam at the straps and tab sew over it and back-stitch 2-3 times.
 Step 10: Finishing
-Clip the corners and turn right side out. I use a chopstick to push out the corners. Press.
-Sew around the perimeter about 1/8" from the edge making sure to close the gap at the bottom.

DONE!

Now your little one can quietly play while you go make more notebook covers! :)


9 comments:
Oh I know what some people are getting for Christmas now!! What a great Idea!
Fun and functional...and as always well made. I love the fabric you chose.
This is such a great idea...going to get one whipped up before a birthday party we have tomorrow afternoon. Did you use a home dec weight fabric? I feel like I've seen this fabric before but can't put my finger on it.
@Stacy- I didn't use home dec fabric but have in the past with other notebook covers. It works great it just gets really thick in the corners so make sure you trim them really well.
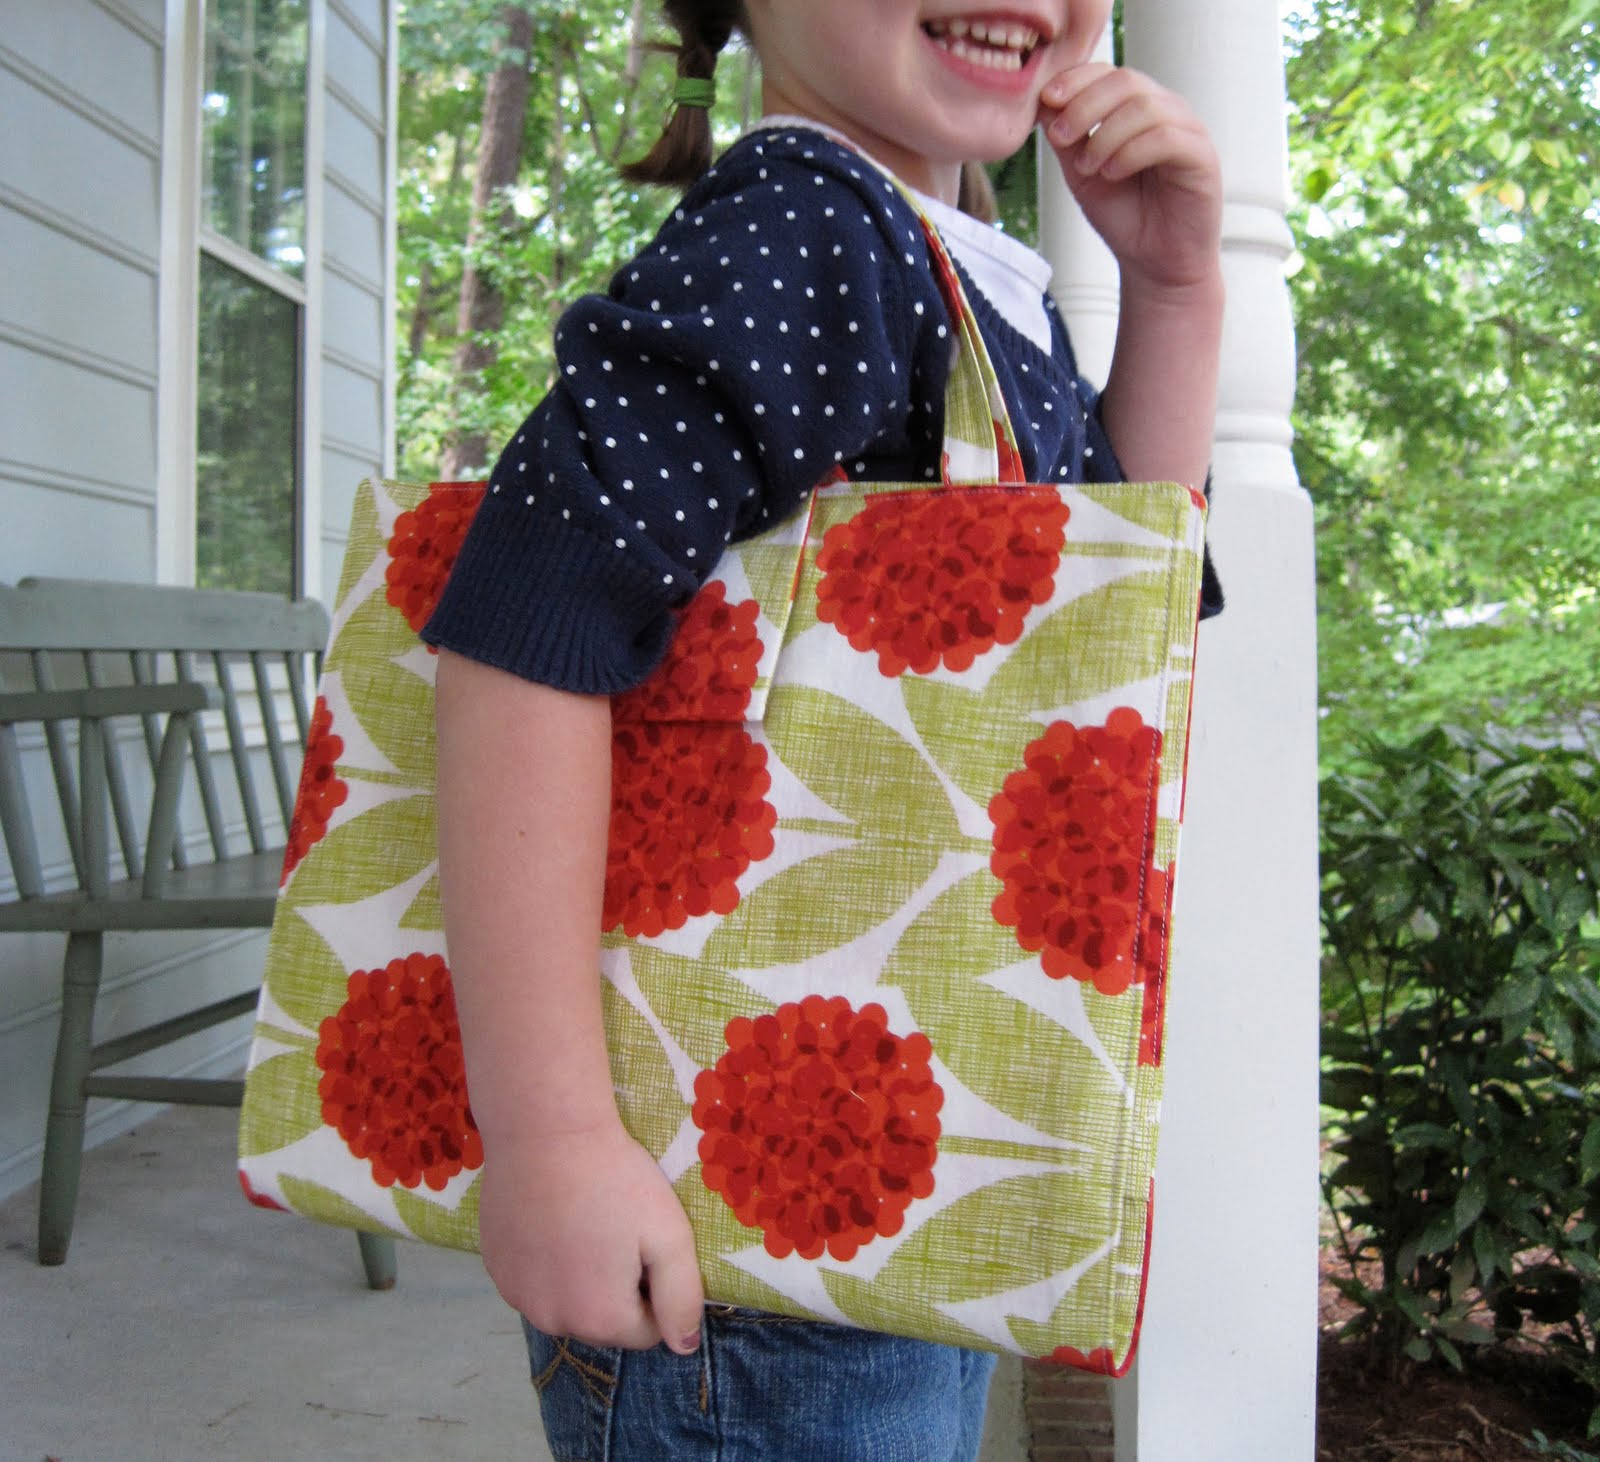
I don't remember the name or maker of the fabric but I bought it at my local Hancock Fabric store. It might look familiar to you because it is super similar to this popular Orla Kiely wallpaper: http://www.orlakiely.com/uk.cfm/house/living/WFBP6H-500/4168/_/
these is adorable and funtional and a must have. thanks for sharing.. off to bookmark this page now. have a great weekend.
This would make a great birthday gift for my niece. Thanks!
this is great Erin! Will have to make it for sure.
Ok, so I finally finished my first one! It's not perfect but I'm pretty new to sewing and just got my machine as a Christmas present. In fact, this is the biggest project I've done. But I think I will definitely do this one again. Thanks for the great tutorial!
Oh my goodness... this is so great!!! I found you on Tip Junkie and had to come over and check it out. I sooo want to do this for my little girl - I'm gonna go send it to my Pinterest board right now :D
Thanks so much for the great tutorial!
Shelley
www.westermanfam.blogspot.com
Post a Comment
Thanks for leaving a comment. I love 'em! They make me feel special! :)
If you have a question make sure you have an email address linked up to your blogger account or leave your email address in the comment so I can respond otherwise I will answer your question here in the comments section.
OR you can email me at suttongraceblog(at)gmail(dot)com
Note: Only a member of this blog may post a comment.