
Showing posts with label guest blogging. Show all posts
Showing posts with label guest blogging. Show all posts
Tuesday, October 25, 2011
leafy treetop spot
I'm guest posting today at Leafy Treetop Spot! I was lucky enough to meet Tricia when my sister-in-law, Kate, married Tricia's brother, Dustin, last July. Tricia is super nice and genuine and talented and to boot! Go check out my tutorial for a Peter Pan Collar. It's a cute and easy way to dress up a t-shirt or dress!

Monday, May 2, 2011
polkadot ruffle dress tutorial
This is the tutorial I put together for Knock-off week at Craftiness is not Optional.

 I have had this mini Boden dress hanging on my inspiration board for awhile. My four year old daughter Sutton loves to wear dresses. She also loves to play. No tea parties for her, she loves playing outside with her brothers. She needs dresses that are comfortable and durable.
While $40 isn't a huge amount of money it's more than I would spend on a little girls dress especially one could easily make myself. I knew this dress would be easy to make since it is basically two pieces, front and back, with some ruffles and shirring. I bought 1-1/2 yards of 58" wide jersey which cost $6.99/yard at Hobby Lobby. With a 40% off coupon the total was about $7. Plus, I had almost a half a yard left over. I had all the other supplies on hand.

In this dress Sutton can run and jump and dance and explore and look adorable while doing it!


Supplies
-Approximately 1 yard (more or less depending on your size) of jersey knit.
-Thread
-Elastic thread
-Rotary cutter and straight edge (not required but very helpful)
-Water soluble fabric marking pen
1. Make your pattern. Choose a dress that has a loose, flow-y fit and no sleeves (or tuck the sleeves inside like I did). Turn the dress inside out and fold in half. Lay on pattern paper and trace around dress adding a little extra for seam allowance, about a 1/2" or 5/8", whatever you are comfortable with. You can see that I added about 1-1/2"-2" extension to the shoulder for the sleeves and some width and length. Fold the dress in half the other way and repeat the above instructions to make the back pattern piece.
You could trace your dress directly onto the fabric but I prefer to make a paper pattern, it makes sewing the next dress a snap! I already have another one in the works that is tunic length to wear with leggings.

2. Cut out your pattern pieces and lay them on your fabric with the straight sides on the fold. Pin and cut.

3. Cut a 2-1/2" slit in the center back neckline. It's easy to find the center when the fabric is still folded in half.

4. Jersey can be intimidating to sew with, but it's really quite easy! Use the right needle, a ball point 9 or 11, and the right stitch, a slanted zigzag (I am sure that's not the technical term for the stitch but that's what I call it!). The slanted zigzag stitch allows the fabric to still stretch which means the seams will not break when the garment is being put on or taken off.
Sew your two pieces together, right sides facing, at the shoulder and the side.

5. Cut some bias strips. Fold one selvage end to the adjacent side, cut on the fold. Using a rotary cutter and a straightedge, cut 1-1/2" strips parallel to the previously cut folded edge. You will need one strip 24" long and two strips 12" long for the neck and sleeve binding. You will also need three strips for the ruffles; 22", 20" and 18".

6. Slightly gather the neckline.

7a. Using a regular straight stitch sew the 24" strip to the neckline, right sides facing.
7b. Over lap the ends about a 1/2". Cut off excess strip.

8a. Press the seams towards the strip and fold the strip over the seams, press again. (Pin if needed)
8b. With the right side up sew close to the seam. Cut off excess strip on the inside.

9. Mark the waistline. I put the dress on my daughter and measured from the center neckline to where her natural waist is. Her measurement was 7" (the blue mark). With a straight edge mark across the dress on the front and back (purple mark).

10a. With elastic thread in the bobbin, sew all the way around the dress on your mark. I have found backstitching with elastic thread often jams my machine. To avoid that I just sew over the starting point by one to two inches.
10b. Using your presser foot and the previous stitch as a guide, sew multiple rows of shirring. I did five. Make sure you smooth out the gathers from the previous stitches but not so much that you stretch the fabric. Now you are done with the elastic thread.
Note: There are lots of opinions on how to do shirring. This is what works best for me:
-Slightly stretch the elastic while you hand wind it onto the bobbin.
-Set the tension slightly higher (7 on my machine which is usually set around 5)
-Don't backstitch.
-Always, always test the shirring on a scrap piece. My drop in bobbin machine will often not catch the elastic in the bobbin correctly on the first try. Then there is lots of unpicking and fabric damage.

11. Gather the remaining strips. Use the longest stitch and turn the tension all the way up and the fabric comes out perfectly gathered, no pulling threads!

12. Pin the ruffles to the bodice. I ended up only using two. I felt that three was overwhelming for this size dress (5T). Using a regular stitch and regular tension, sew the ruffles to the dress.

13. Attention to detail- using a seam ripper remove the gathering stitch. The top ruffle's gathering stitch was picked out and the bottom ruffle wasn't. See how much cleaner the top ruffle is?

14. Hem the dress and add a hook and eye to the top of the slit on the back neckline and you're done!!

Thanks Jess for having me here at Craftiness is not Optional! It's been an honor to be part of your knock-off series!
Tuesday, April 19, 2011
the sincerest form of flattery

One of my favorite blogs, Craftiness is not Optional along with KoJo Designs is hosting a knock-off week called 'the sincerest form of flattery'. There have been some amazing knock-offs so far and today my version of a mini-boden dress is being featured! Go check it out here.

Friday, October 22, 2010
art notebook: a tutorial
This is the tutorial I put together for HowDoeShe? .
I created these art notebooks for my kids a couple of years ago before a cross country plane ride. Since then I have made many notebook covers and have been able to perfect the pattern. In addition to plane rides the notebooks are great for car trips, church and doctors appointments. Basically anytime you need to encourage some quiet play. There are several steps but if you take them one at a time I know you can make one too! After you have made one and understand how it all goes together you can even adjust the dimensions and make covers for other size notebooks. They make great gifts! Now let's get started!

You will need:
-8.5"x11" spiral bound Mead sketch book (I bought mine at Wal-mart for about $4)
-1 yard fabric
-1/4 yard contrasting pocket fabric (this is optional- you can omit the pockets completely or use the main fabric for pockets)
-1 yard 22" wide fusible interfacing
-matching thread
-1.5"x2.25" piece of sew on Velcro
-Sewing basics, i.e.- scissors, measuring tape, pins, sewing machine, marking pen.
Step 1: Cut out pieces
Main fabric-
Cut two 21"x13" for outside and lining of cover
Cut two 17"x13" for front and back sleeves
Cut two 12.5"x2" for straps
Cut one 9"x3" for tab
Contrasting fabric-
Cut one 8"x7" for sticker pocket
Cut one 12"x7" for marker pocket
 Step 2: Cut and apply fusible interfacing for each piece except the lining (one of the 21"x13" pieces) and the contrasting pocket pieces.

Step 3: Make tab. Iron the tab in half. Sew the loop piece of Velcro just beneath the fold. Fold the tab again (right sides together) enclosing the Velcro. Sew each side leaving the bottom open. Clip corners, turn right side out and press.

Step 4: Make the straps. Fold and press the strap in half lengthwise. Open. Fold and press each raw edge toward the center. Sew down the length of each side of the strap.

Step 5: Make the marker pocket.
-Grab the 12"x7" piece of contrasting fabric. Press the raw edges under 1/4". Turn and press the top (12" side) under another 1/4" and sew (top edge only).
-Fold and press one sleeve piece (17"x13") in half (wrong sides together). With the fold on the right side, pin the marker pocket 1/2" from the folded edge and 2" from the bottom. Sew right of pocket side only.
-Place one marker under the pocket material next to the seam. Line up the straight edge with the left side of the marker (don't make it too tight- leave a little ease so the marker will be able to slide in and out easily). Mark with water soluble ink or chalk.
-Pin and sew leaving the bottom edge open. Repeat until you run out of fabric. The number of marker slots will vary based on the size of your markers. I have nine marker slots.
-Sew the bottom edge of the slots.
-Your front sleeve is now complete!

Step 6: Make the sticker pocket
-With the other contrasting pocket piece (8"x7"), press the raw edges under 1/4". Turn and press the top (7" side) under another 1/4" and sew.
-Fold and press the other sleeve piece (17"x13") in half (wrong sides together). With the fold on the left side, pin the sticker pocket 1" from the folded edge and about 1.5" from the bottom.
-Sew each side and the bottom of pocket leaving the top open.
-Your back sleeve is now complete!
Step 7: Attach straps and tab
-On the raw side of the back sleeve, pin one end of the strap at 3.25" from top. Pin the other end of the strap at 9.75" from the top. Sew about 1/4" from raw edge. Repeat for other strap on the front flap.
-On the back sleeve center the tab (Velcro side down), 6.5" from top, pin and sew 1/4" from raw edge.

Step 8: Attach hook Velcro piece:
-Center (6.5" from top edge) the hook Velcro piece on the front right side of the cover (the 21"x13" piece with the interfacing) and pin 1.5" from the raw edge.
-Sew around the perimeter of Velcro piece.
Step 9: Put it all together
-Layout the outer piece right side up.
-With the strap and tab tucked in, place the back sleeve (the one with the sticker pocket) face down on the left side of outer piece lining up raw edges.
-With the strap tucked in, place the front sleeve (the one with the marker pocket) face down on the right side of outer piece lining up raw edges.
-Place the lining piece (21"x13" piece without interfacing) on top right side down. Pin.
-Sew around the perimeter leaving about a 4-6" gap along the bottom center. To reinforce the seam at the straps and tab sew over it and back-stitch 2-3 times.
 Step 10: Finishing
-Clip the corners and turn right side out. I use a chopstick to push out the corners. Press.
-Sew around the perimeter about 1/8" from the edge making sure to close the gap at the bottom.

DONE!

Now your little one can quietly play while you go make more notebook covers! :)

I created these art notebooks for my kids a couple of years ago before a cross country plane ride. Since then I have made many notebook covers and have been able to perfect the pattern. In addition to plane rides the notebooks are great for car trips, church and doctors appointments. Basically anytime you need to encourage some quiet play. There are several steps but if you take them one at a time I know you can make one too! After you have made one and understand how it all goes together you can even adjust the dimensions and make covers for other size notebooks. They make great gifts! Now let's get started!
You will need:
-8.5"x11" spiral bound Mead sketch book (I bought mine at Wal-mart for about $4)
-1 yard fabric
-1/4 yard contrasting pocket fabric (this is optional- you can omit the pockets completely or use the main fabric for pockets)
-1 yard 22" wide fusible interfacing
-matching thread
-1.5"x2.25" piece of sew on Velcro
-Sewing basics, i.e.- scissors, measuring tape, pins, sewing machine, marking pen.
Step 1: Cut out pieces
Main fabric-
Cut two 21"x13" for outside and lining of cover
Cut two 17"x13" for front and back sleeves
Cut two 12.5"x2" for straps
Cut one 9"x3" for tab
Contrasting fabric-
Cut one 8"x7" for sticker pocket
Cut one 12"x7" for marker pocket
 Step 2: Cut and apply fusible interfacing for each piece except the lining (one of the 21"x13" pieces) and the contrasting pocket pieces.
Step 3: Make tab. Iron the tab in half. Sew the loop piece of Velcro just beneath the fold. Fold the tab again (right sides together) enclosing the Velcro. Sew each side leaving the bottom open. Clip corners, turn right side out and press.

Step 4: Make the straps. Fold and press the strap in half lengthwise. Open. Fold and press each raw edge toward the center. Sew down the length of each side of the strap.

Step 5: Make the marker pocket.
-Grab the 12"x7" piece of contrasting fabric. Press the raw edges under 1/4". Turn and press the top (12" side) under another 1/4" and sew (top edge only).
-Fold and press one sleeve piece (17"x13") in half (wrong sides together). With the fold on the right side, pin the marker pocket 1/2" from the folded edge and 2" from the bottom. Sew right of pocket side only.
-Place one marker under the pocket material next to the seam. Line up the straight edge with the left side of the marker (don't make it too tight- leave a little ease so the marker will be able to slide in and out easily). Mark with water soluble ink or chalk.
-Pin and sew leaving the bottom edge open. Repeat until you run out of fabric. The number of marker slots will vary based on the size of your markers. I have nine marker slots.
-Sew the bottom edge of the slots.
-Your front sleeve is now complete!

Step 6: Make the sticker pocket
-With the other contrasting pocket piece (8"x7"), press the raw edges under 1/4". Turn and press the top (7" side) under another 1/4" and sew.
-Fold and press the other sleeve piece (17"x13") in half (wrong sides together). With the fold on the left side, pin the sticker pocket 1" from the folded edge and about 1.5" from the bottom.
-Sew each side and the bottom of pocket leaving the top open.
-Your back sleeve is now complete!
Step 7: Attach straps and tab
-On the raw side of the back sleeve, pin one end of the strap at 3.25" from top. Pin the other end of the strap at 9.75" from the top. Sew about 1/4" from raw edge. Repeat for other strap on the front flap.
-On the back sleeve center the tab (Velcro side down), 6.5" from top, pin and sew 1/4" from raw edge.

Step 8: Attach hook Velcro piece:
-Center (6.5" from top edge) the hook Velcro piece on the front right side of the cover (the 21"x13" piece with the interfacing) and pin 1.5" from the raw edge.
-Sew around the perimeter of Velcro piece.
Step 9: Put it all together
-Layout the outer piece right side up.
-With the strap and tab tucked in, place the back sleeve (the one with the sticker pocket) face down on the left side of outer piece lining up raw edges.
-With the strap tucked in, place the front sleeve (the one with the marker pocket) face down on the right side of outer piece lining up raw edges.
-Place the lining piece (21"x13" piece without interfacing) on top right side down. Pin.
-Sew around the perimeter leaving about a 4-6" gap along the bottom center. To reinforce the seam at the straps and tab sew over it and back-stitch 2-3 times.
 Step 10: Finishing
-Clip the corners and turn right side out. I use a chopstick to push out the corners. Press.
-Sew around the perimeter about 1/8" from the edge making sure to close the gap at the bottom.

DONE!

Now your little one can quietly play while you go make more notebook covers! :)

Friday, October 8, 2010
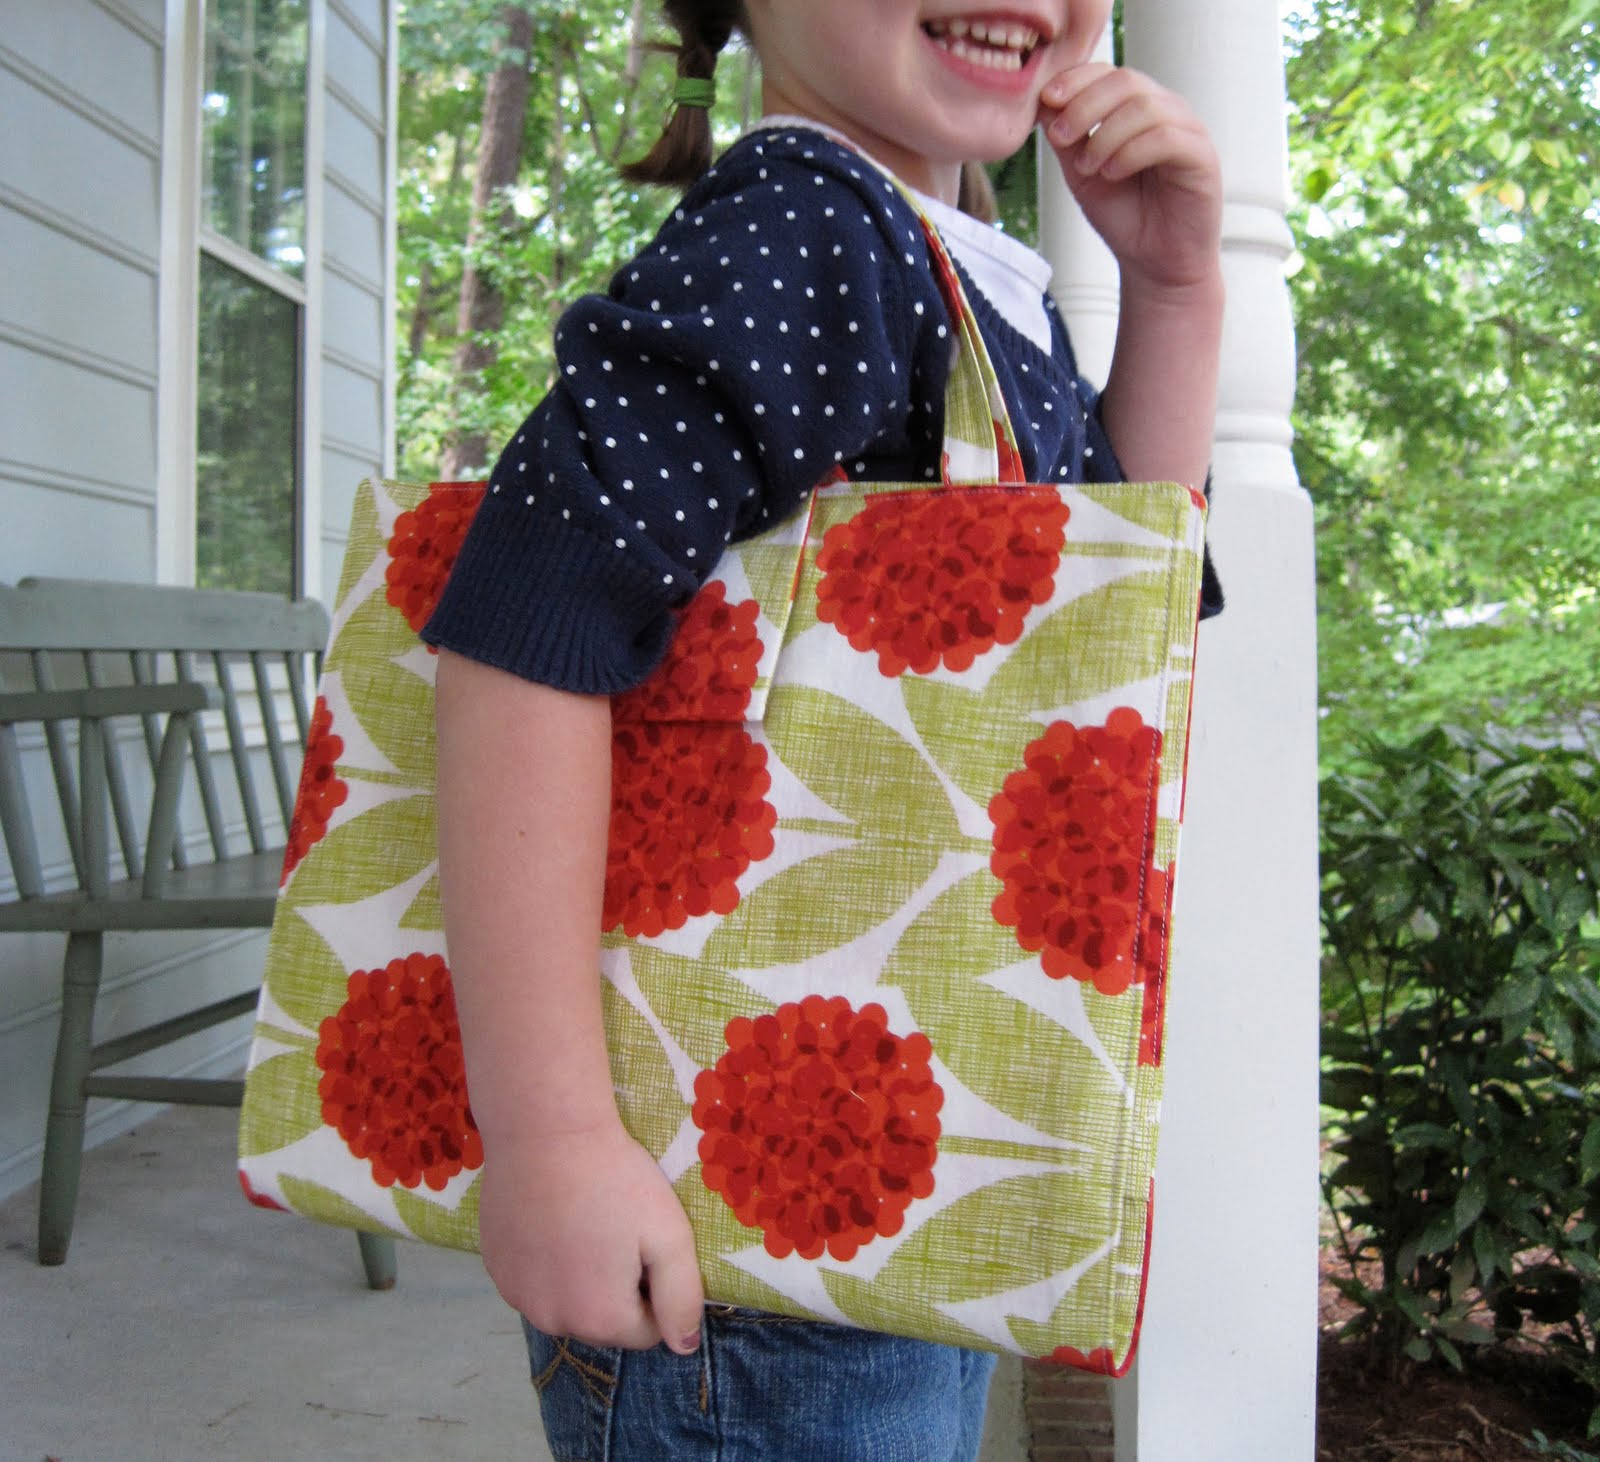
How Does She...?
Today I am blogging over at HowDoesShe?. My first ever guest blogging gig! I created a super sweet tutorial. Here is a little sneak peek of the project:

Check it out here.

Check it out here.


