HAPPY NEW YEAR! I hope that you all have enjoyed a safe and happy Holiday season!

I finally finished the template for the doll house. I didn't think it would take so long but we have been spending every spare minute with family! Not that I am complaining, we've had lots of fun. I even had a couple of hours of good contractions today. Maybe this little one will arrive a little early. That would be a first for me!


A few tips:
1- I bought a 4'x8' piece of 1/2" plywood and was
barely unable to get all the pieces cut from that one piece of plywood. Luckily, we happened to have a scrap piece of MDF on hand and didn't need to buy more wood but if you make a dollhouse from this template you will need more than one piece of plywood if you don't have some scraps hanging around.
2- Michael cut all the pieces with a jig saw but a table saw would work well too.
3- The top edge of the side wall (D) needs to be mitered slightly to match the slope of the back wall (A).
4- The back wall (A), side wall (D) and the front wall (E) are all secured to the top of the base piece (B).

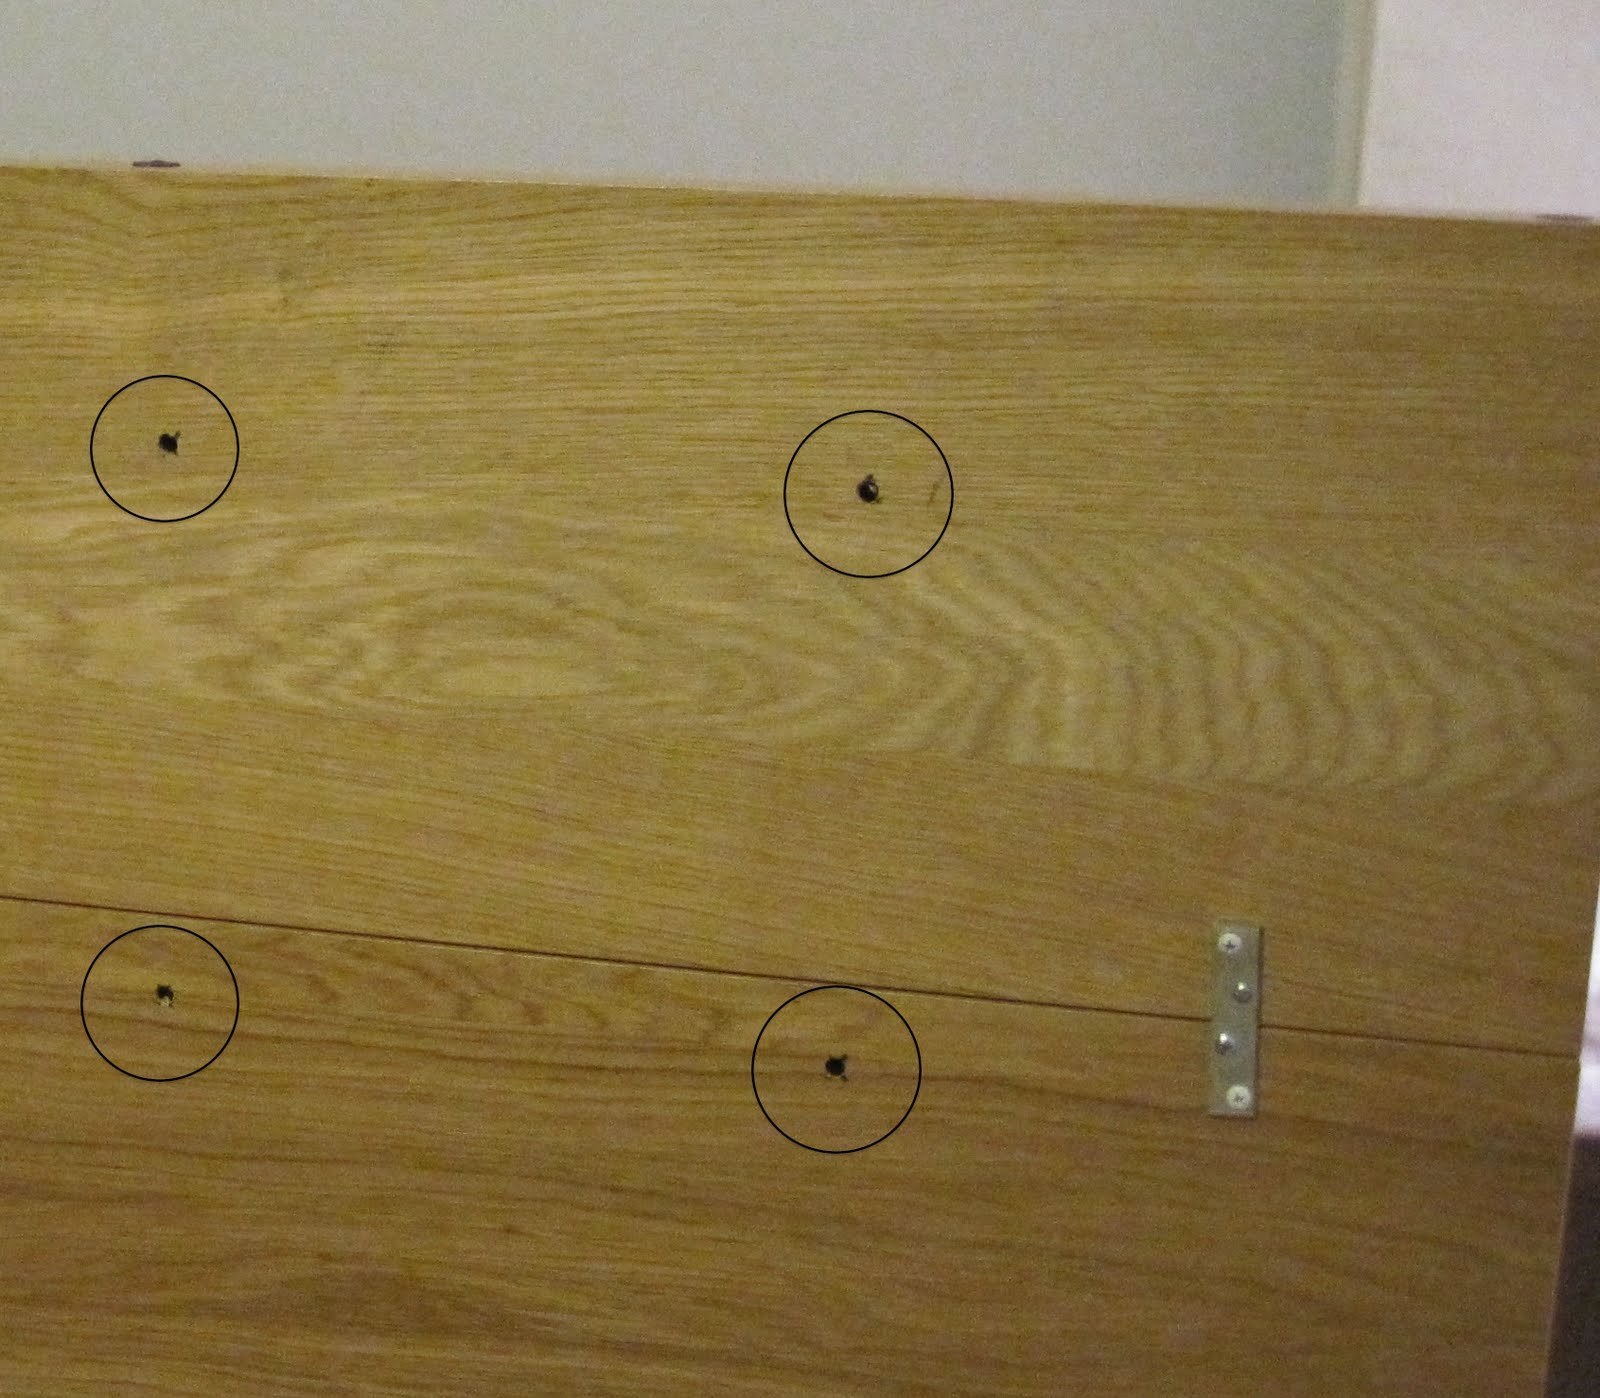
5- To assemble the house we used 1" finishing nails and a hammer. It is much easier if you have someone to help you with this part. Michael and I laid the base piece top down and pounded nails into the wood (about 1/4" from the back edge, side wall edge and front wall edge) just until the nails were barely visible on the top side of the base piece.
With the pieces on their sides, I lined up the back wall (A) with the base (B) where the barely visible nails were while Michael hammered the nails down. We continued with each wall piece. Measure and mark where the 2nd floor piece (C) will go and again hammer the nails into the wood until barely visible, hold the 2nd floor (C) into place and completely hammer the nails down. The roof pieces (H & I) were last were done in the same manner. Lastly we installed the interior walls (G & F).
6- Our cuts weren't perfect. Once the house was put together there were lots of gaps at the roof line. The house was secure but it didn't look pretty. I used caulk (make sure it is paintable!!) to fill in the gaps knowing it would never be noticed once the house was painted and wallpapered.

7- We eye-balled the window placement once the house was all put together. The windows are about 9"x6.25" except, of course, for the triangular window which is as wide as the other windows but only a few inches high and the long edge of the window matching the angle of the roof. The windows were cut out with a jig saw.
Cost break down:
furniture- eBay $15
vintage kitchen- eBay $29
bath fixtures- eBay $17
plywood $20
paint- sample from Lowes $3
carpet- sample from carpet store $2
linoleum- Home Depot $3
faux tile bathroom floor- Hobby Lobby $3.5
scrapbook paper for wallpaper- Michaels and Hobby Lobby $7
wood beds- unfinished wood pieces from Hobby Lobby $8
mod podge (with coupon)- Hobby Lobby $4
Krylon plastic spray paint $9
flowers for flower boxes- Walmart $3
1x2 wood for flower boxes $2
Total $125.50
Quick links to the other dollhouse posts:
part 1,
part 2,
part 3,
part 4If you make a dollhouse for your little one I would
love to see it!
 Gemma Hazel


 A word about the swaddler tutorial: I am really happy with how it turned out (well, as happy as I can be not being able to actually try it on a baby) but the tutorial lacked specific measurements which I found very frustrating. I also had to modify it a little bit since my fabric had a directional print and I didn't want the cute little trees to be cut on the diagonal. I was able to able to figure it out and even created a pattern so I can easily make more. If I like how the swaddler works I will definitely make one or two more for myself and several as baby gifts and I'll post the pattern for all of you.